
About Atta Puri Recipe for Pani Puri
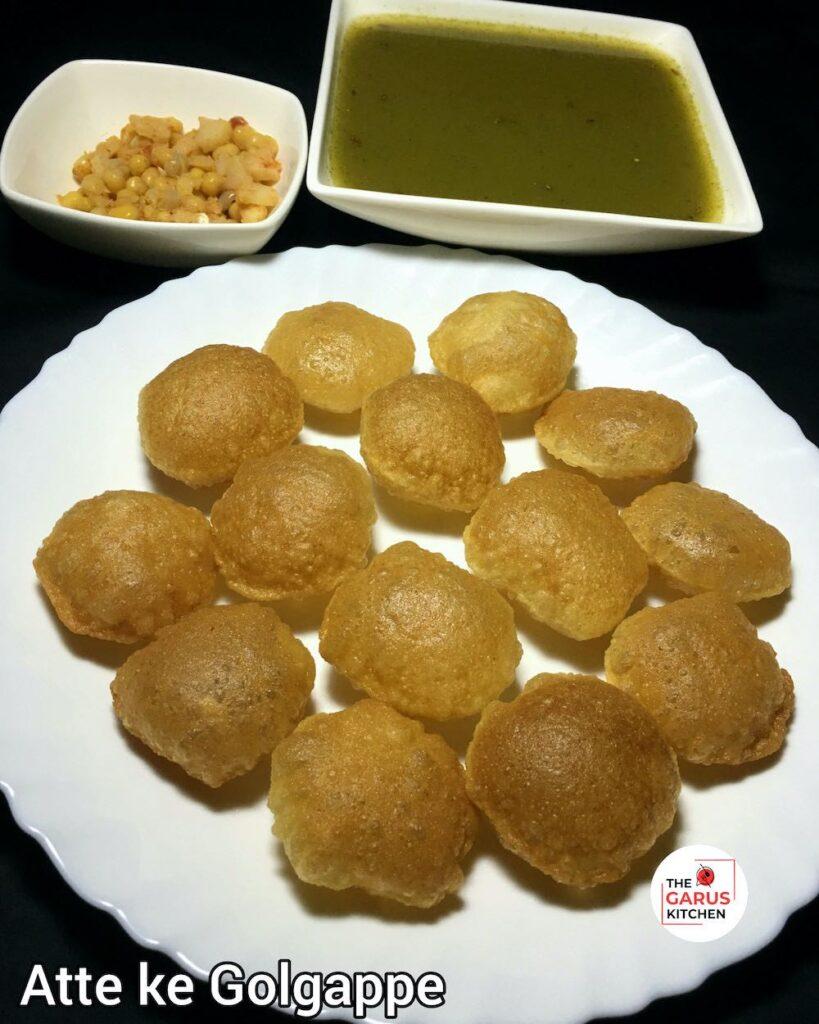
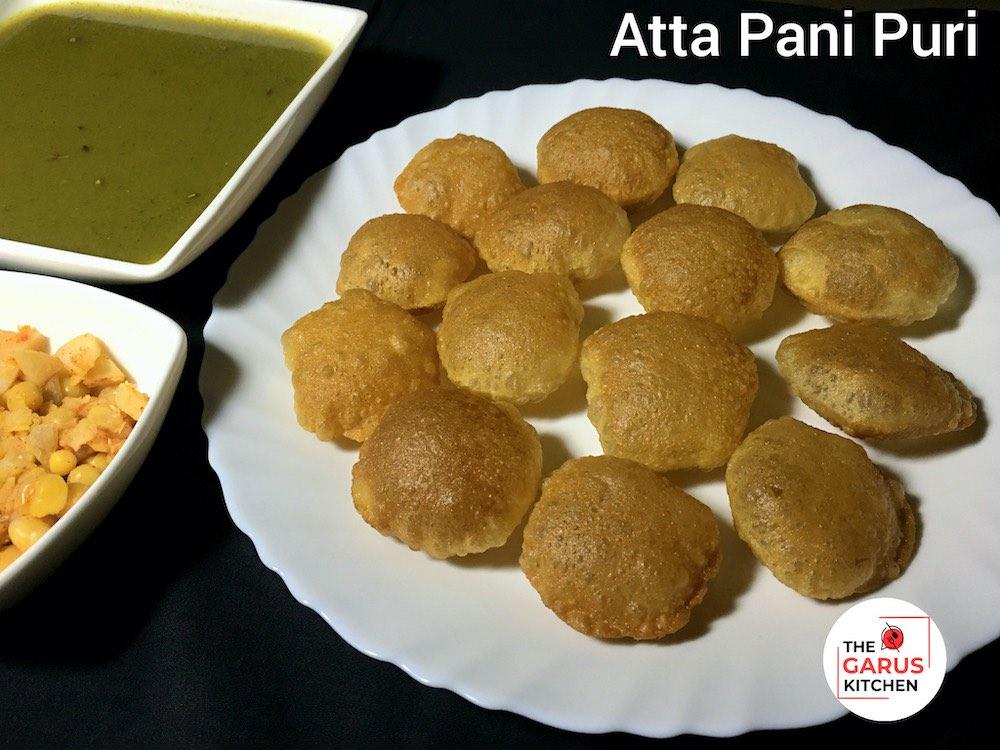
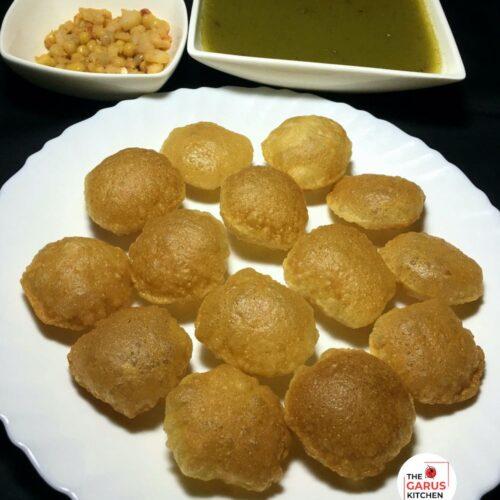
Atta Puri Recipe for Pani Puri | Atta Golgappa Recipe | Puchka Recipe | How to make atta golgappa | atta poori recipe with wheat flour with step-by-step photos and video: Make crispy, puffed atta golgappas at home with simple ingredients and two easy methods. This healthier pani puri recipe with wheat flour is perfect for any chaat craving. Try it once, and you’ll skip store-bought puris forever.
If you love street food but want a healthier twist at home, this Atta Puri Recipe for Pani Puri is just what you need! Made with whole wheat flour instead of refined flour, this atta golgappa recipe offers a light, crispy texture perfect for holding spicy pani and tangy fillings. Whether you call them pani puri, golgappa, or puchka, these puris are a crowd-pleaser and can now be made with simple pantry ingredients. If you’re wondering how to make atta golgappa that puffs perfectly and stays crisp, you’re in the right place.
Growing up, we often enjoyed puchkas at roadside stalls, but making them at home using atta for puri felt both nostalgic and rewarding. There’s something magical about watching the puris puff in hot oil and filling them with flavorful paani puri paani. Over time, I perfected this easy atta golgappa recipe that works even without suji (semolina), ideal for those looking for an atta golgappa recipe without suji. These are so good, you’ll never go back to store-bought atta golgappa packets.
Why Choose Atta Golgappa at Home?
Making atta golgappa at home has several benefits. Not only is it more hygienic, but it also allows you to control the ingredients, no preservatives, no refined flour, just wholesome poori atta. This atta poori recipe is simple, affordable, and perfect for making a large batch for parties or family get-togethers. The dough is easy to handle, and the results are light, puffed, and crisp, exactly what you expect from the best atta golgappa recipe.
Whether you’re preparing it for chaat night or a festive snack, this authentic atta pani puri recipe comes together in just a few steps. You’ll learn everything from preparing the pani puri recipe dough to frying perfect puri for pani puri that stays crispy for days. And yes, we’re including both methods, individual ball rolling and sheet rolling with a cutter, so you can pick what suits you best. It’s a crispy pani puri experience made easy at home.
A Healthier Homemade Puchka Recipe
If you’ve been searching for a pani puri recipe with wheat flour, this blog post has it all. Whether you’re trying to make a snack that’s a bit healthier or simply experimenting with flavours, using whole wheat flour makes these puris light on the stomach and big on flavour. It’s perfect for those who want an easy atta pani puri recipe without compromising on the taste of the traditional street-style panipuri recipe.
Ready to learn how to make atta pani puri at home? Scroll down for the complete step-by-step atta golgappa recipe at home along with pro tips, variations, and storage advice. Say goodbye to ready-made puris and hello to delicious, fresh, and crunchy homemade goodness.
More Chaat Recipes to Try
Corn Tikki
Singhara Chaat
Instant Dahi Bhalla
Whole Wheat Square Samosa
Sabudana Tikki
Similarly, if you are looking for more Indian Street Food Recipes, I would like to share my other paneer recipe collections, like Bread Cheese Burst Pizza, Kathal Pakoda, Brinjal Fritters, Street Style Vegetable Maggi, and Mumbai style Pav Bhaji, with this post of Whole Wheat Puchka Recipe | pani puri recipe.
Step-by-Step Recipe
Step 1: Dough Preparation (Same for both methods)
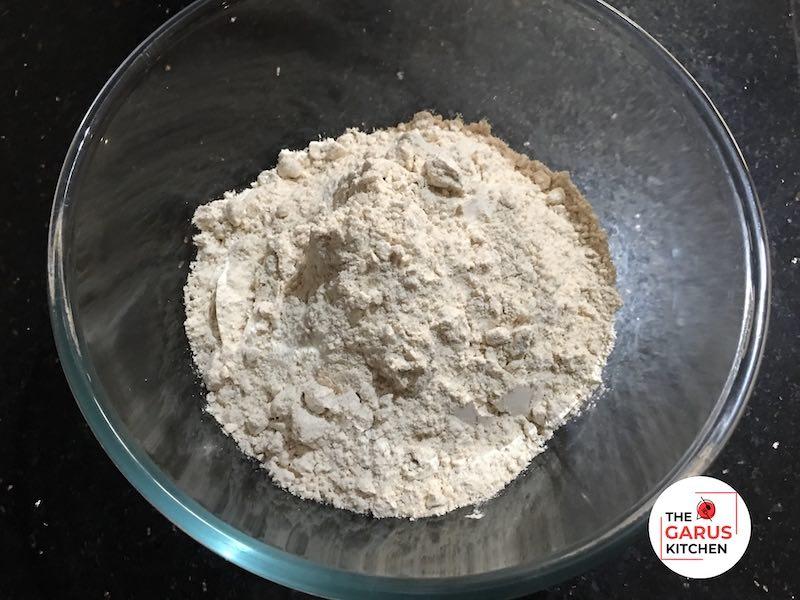
1. In a mixing bowl, combine: 1 cup whole wheat flour, 2 tablespoons fine semolina/suji, ¼ teaspoon salt, a small pinch of baking soda (optional but helps in puffing). Mix dry ingredients well.
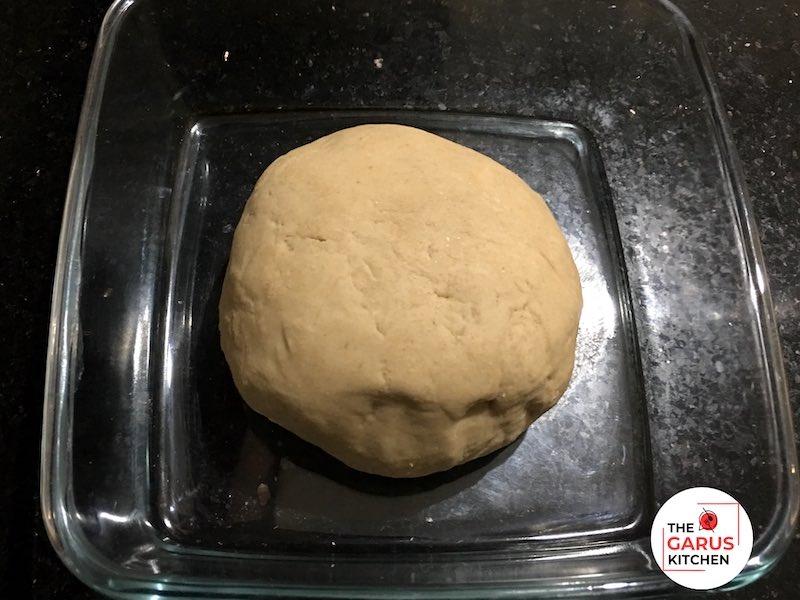
2. Add water gradually (approx. ¼ cup) and knead into a firm and smooth dough. It should be tighter than chapati dough.
3. Tip: Firm dough = better puffing + crispier puris.
4. Add 1 teaspoon of oil and knead again for 1-2 minutes till the dough is smooth.
5. Cover with a damp cloth and rest for 20-30 minutes.
Step 2A: Method 1 – Rolling Individual Balls (Loiyan se belna)
6. After resting, knead the dough once again for 1 minute.
7. Divide the dough into 30-35 small, equal-sized balls (loiyan).
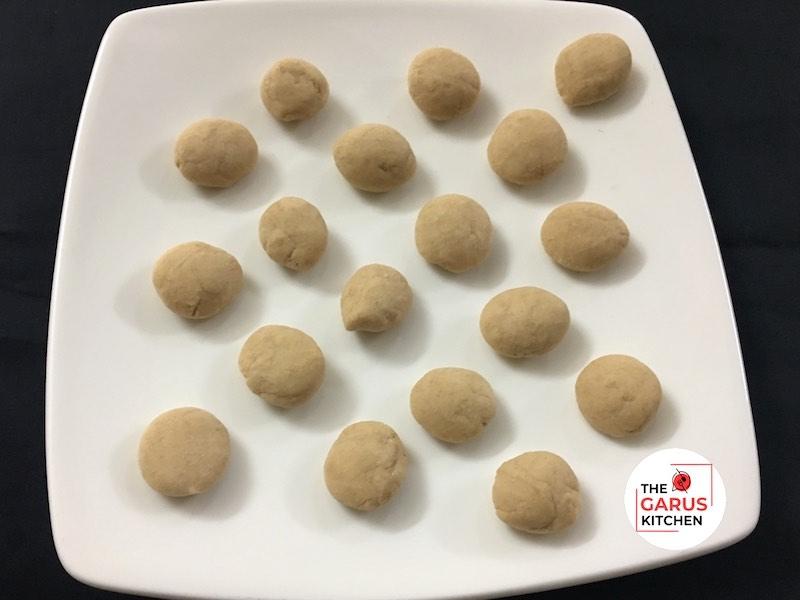
8. Roll each ball into a thin, even disc (about 2-inch diameter) using a rolling pin. Don’t use too much dry flour while rolling. If needed, apply light oil to the rolling pin or board.
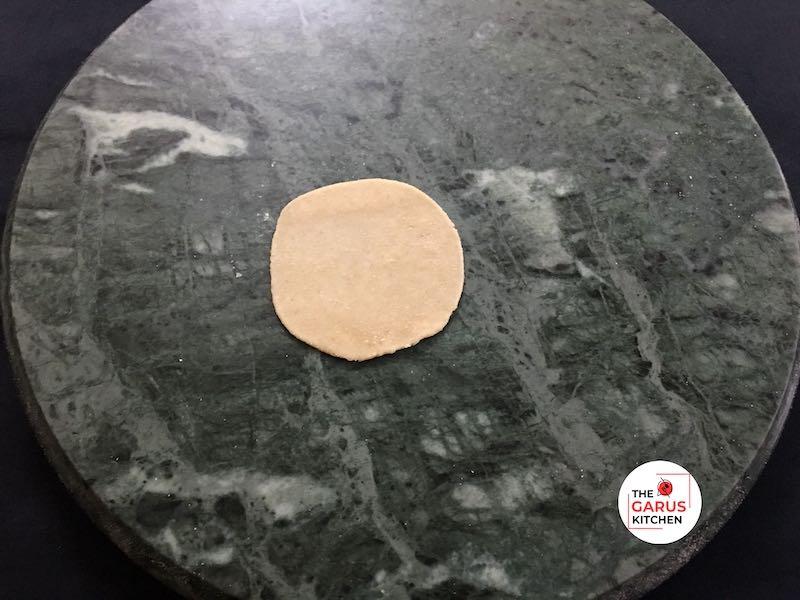
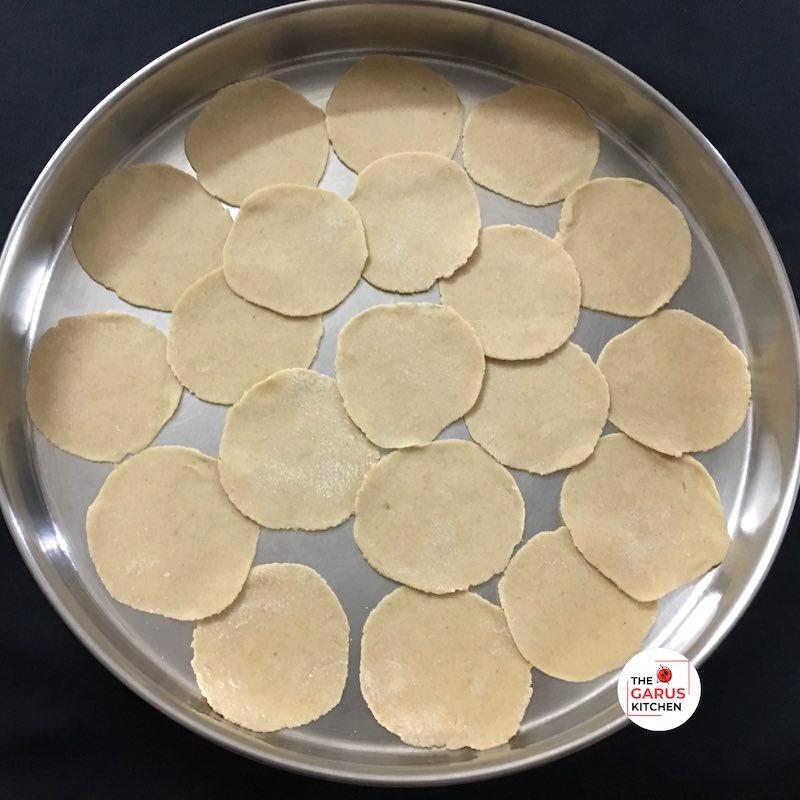
9. Keep rolled puris on a dry cloth or plate. Cover with a cloth to prevent drying.
Step 2B: Method 2 – Rolling One Sheet & Cutting Circles
10. After the dough rests, divide it into 2-3 equal portions.
11. Roll out one portion into a thin, even sheet (like a large roti), as thin as possible without tearing.
12. Use a round cutter, steel bowl, or bottle cap (approx. 2-inch diameter) to cut small circles.
13. Remove the extra dough and keep the cut puris covered with a cloth.
14. Gather scraps, roll again, and repeat.
Step 3: Frying the Puris (Same for both methods)
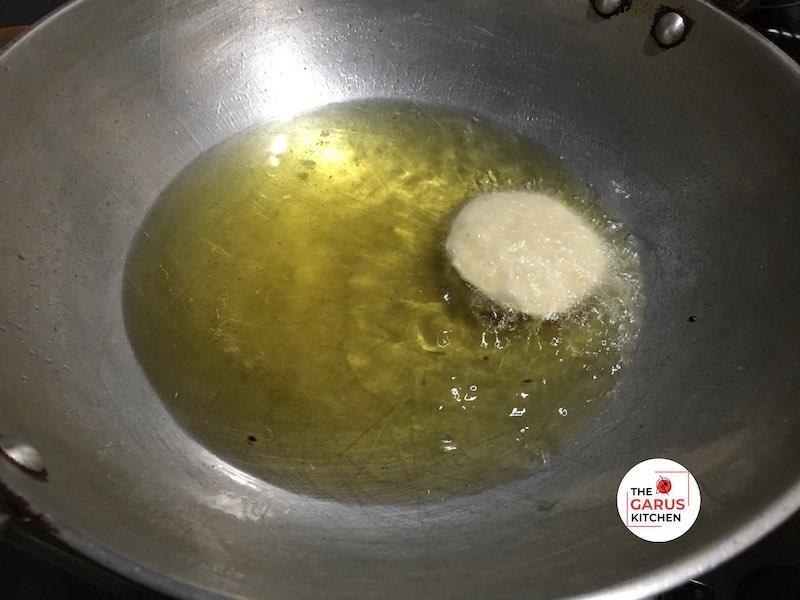
15. Heat enough oil in a deep pan over medium-high flame.
16. To check if the oil is hot enough, drop a small piece of dough, it should rise quickly and sizzle.
17. Slide 6-7 puris into the oil carefully.
18. Use a slotted spoon to gently press the puris, they should puff up.
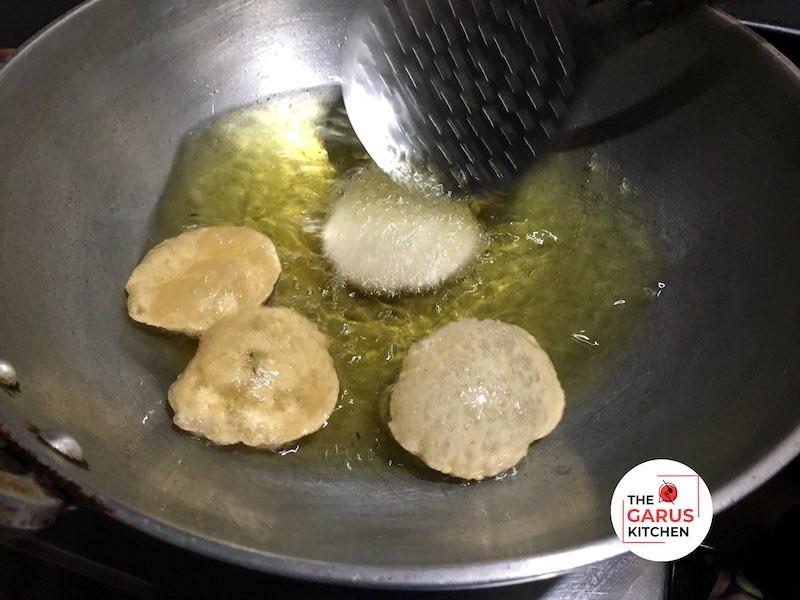
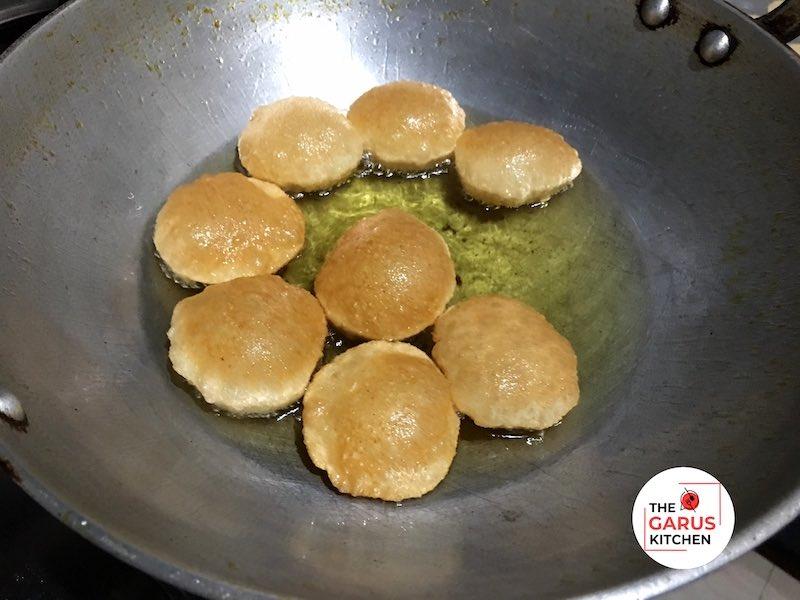
19. Flip and fry until golden and crisp on both sides.
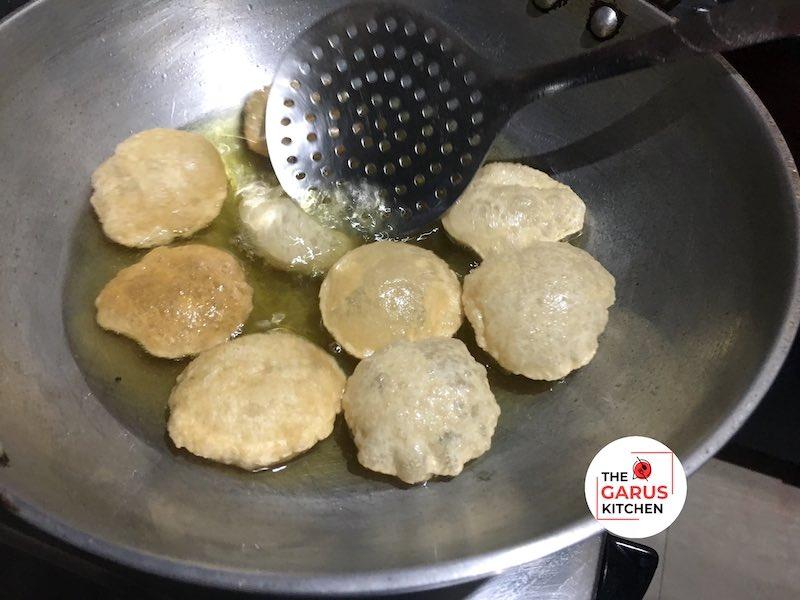
20. Maintain medium heat. Too high, puris brown quickly but stay soft; too low, puris won’t puff.
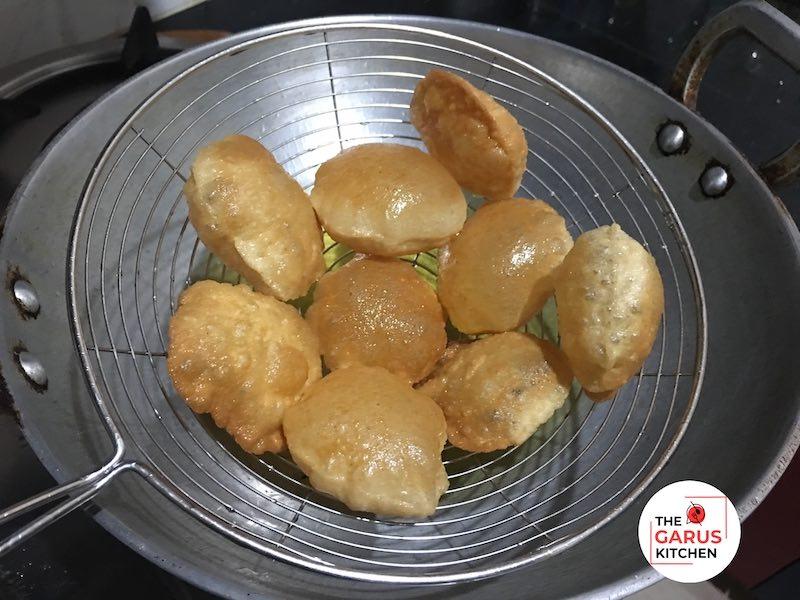
21. Remove onto paper towels to drain excess oil.
Step 4: Cool and Store
22. Let puris cool completely before storing in an airtight container.
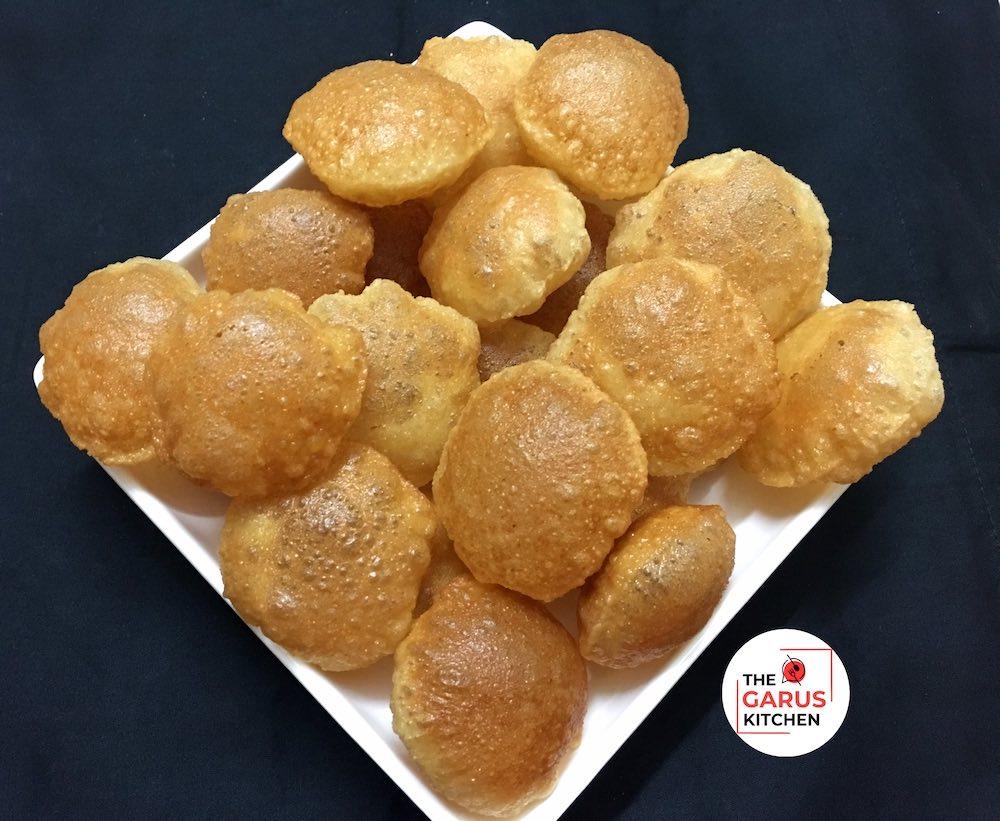
23. Stay crisp for up to 10-12 days at room temperature.
Recipe Card
Atta Puri Recipe for Pani Puri | Atta Golgappa Recipe | Puchka Recipe
Ingredients
- 1 cup Whole wheat flour / Atta
- 2 tbsp Fine Semolina / Sooji / Rava
- ¼ tsp Salt
- 1 small pinch Baking soda (optional, for crispiness)
- Water (as needed for kneading dough)
- Oil (for deep frying)
Instructions
How to Make Perfect Crispy Golgappa at Home:
- In a mixing bowl, combine flour, fine semolina, salt, and a pinch of baking soda. Mix well.
- Gradually add water and knead into a firm, smooth dough. Add oil and knead again. Cover and rest for 20-30 minutes.
- Method 1: Divide the dough into small balls and roll each into a thin disc. Keep them covered to prevent drying.
- Method 2: Roll a portion of dough into a thin sheet and cut small circles using a cutter. Cover the puris.
- Heat oil on medium-high flame. Fry puris in small batches, pressing gently to puff. Flip and fry until golden and crisp.
- Let puris cool completely. Store in an airtight container at room temperature.
Pro Tips for Best Atta Puris for Whole Wheat Pani Poori
Want to make crispy atta puris that puff up perfectly and stay crunchy for days? Whether you call them golgappa, puchka, or pani puri, follow these expert tips to ensure your homemade atta puris turn out just like the street vendors.
1. Use Fine Semolina (Sooji) for Extra Crunch
Adding fine sooji (rava) to wheat flour is the key to making crispy atta golgappa. It gives the puris that light, crunchy texture that holds up well with pani and fillings. Use 2 tablespoons of fine sooji per 1 cup of atta. Coarse rava may prevent puris from rolling thin and puffing properly.
2. Dough Should Be Firm Yet Pliable
The texture of the dough plays a big role in how the puris puff and crisp. Knead a tight but smooth dough, tighter than chapati dough. Add water gradually; avoid a soft or sticky dough. Resting the dough for 20–30 minutes helps gluten formation, making the puris puff better.
3. Roll Thin and Even Puris
Uniform thickness ensures even frying and puffing. Roll puris very thin, thinner than roti. If using small dough balls (loiyan), ensure each is the same size. If rolling a large sheet, make sure the thickness is even before cutting circles.
4. Keep Rolled Puris Covered Before Frying
Dry puris may crack and won’t puff properly. After rolling, keep puris covered with a damp cloth until ready to fry. Do not leave them exposed to the air.
5. Fry in Medium-Hot Oil
Frying temperature is critical for puffed and crispy puris. Heat oil on medium-high flame. Test by dropping a small piece of dough, and it should rise immediately. Don’t overcrowd the pan; fry 6-7 at a time. Gently press with a slotted spoon to help puff. Flip once and fry both sides till golden and crisp.
6. Cool Completely Before Storing
Storing warm puris in a container can make them soggy. Let puris cool fully on a plate or wire rack. Store in an airtight container. Stays crisp for 10–12 days at room temperature.
7. Optional: Add a Pinch of Baking Soda
A tiny pinch of baking soda can help with puffing, but use it sparingly. Use just a pinch per cup of flour to avoid soft puris. Too much soda will make puris absorb oil and turn soggy.
You can also try my other Recipe Categories,
No Cooking Recipes
Bread Snacks Recipes
Tiffin Recipes
Kids Recipes
Breakfast Recipes
Recipe Conclusion
Enjoy making crispy, golden atta golgappas at home with this easy and authentic recipe. Using whole wheat flour makes these puris healthier without compromising on crunch or taste. Whether you roll individual balls or cut from a sheet, the result is perfect for pani puri, golgappa, or puchka lovers. Impress your family and friends with homemade goodness that stays fresh and crispy longer.
Frequently Asked Questions – Atta Golgappa Recipe | Crispy Atta Puri for Pani Puri
Q1. Why did my atta puris puff in oil but turned soft after cooling?
A: This happens when the frying temperature is not maintained properly. For crispy atta golgappa, the oil must be medium-hot, and the puris should be fried until golden brown on both sides. Under-frying can trap moisture, making the puris collapse or turn soft after cooling. Always cool completely before storing in an airtight container.
Q2. Can I skip suji and make atta golgappa with only wheat flour?
A: Yes! You can easily make atta golgappa without suji. Just knead a slightly firmer dough and roll the puris thinner than usual. The crispiness will be slightly lower than when suji is added, but they still puff up beautifully and stay crunchy when fried right.
Q3. How do I make atta pani puri puris stay puffed after frying?
A: Once fried, puris puff due to the steam inside the dough. To make them stay puffed, cool them on a wire rack instead of a plate. Avoid stacking hot puris and make sure the dough was rolled evenly and not too thick. Uneven thickness can cause deflation.
Q4. Why are my puris not puffing even though the dough is tight?
A: If your puris are not puffing at all, check the following:
The dough may be too dry or not rested enough.
You might have rolled them too thick or unevenly.
Oil temperature might be too low.
Try pressing gently with a slotted spoon right after dropping them in hot oil — this encourages puffing.
Q5. Can I bake or air-fry atta puris instead of deep frying?
A: You can try, but the results will differ. Baking or air-frying puris might give a crackly texture instead of the classic crunch. They also rarely puff. For best results in a baked version, roll extra thin, brush lightly with oil, and bake at high heat until crisp.
Q6. Can I prepare atta golgappa puris in advance for a party?
A: Absolutely! You can fry the puris 2–3 days in advance. Just store them in a dry airtight container once cooled completely. To revive slight softness, reheat in an oven at 160°C (320°F) for 3–4 minutes before serving.
Q7. Is there a specific atta (wheat flour) that gives better results for golgappa?
A: Use fine whole wheat flour (chakki atta) for best results. Avoid coarse, multigrain, or bran-rich variants as they don’t bind as well or puff uniformly. If you’re buying store atta, check that it’s fresh and not too fibrous.
Q8. Can I use the same dough for pooris and golgappa?
A: While similar, pani puri puris need a tighter, drier dough than regular pooris. Regular pooris are rolled thicker and are softer inside. For crispy pani puri, the dough should be stiffer and rolled ultra-thin for the best puffing and crunch.