
About Quick Homemade Khoya Peda Recipe
Quick Homemade Khoya Peda Recipe | Simple Peda Recipe | Easy Mawa Peda Recipe | How to make peda with step-by-step recipe and video: Have you ever wondered what to do with the rich milk solids left behind after making fresh ghee at home? Turn that goldmine of leftover mawa into Soft Instant Khoya Peda!
Instead of discarding that flavorful malai residue, you can effortlessly whip up an authentic,halwai-style Indian sweet in less than 10 minutes.
Making homemade mawa peda from malai residue is the ultimate zero-waste kitchen trick for any sweet lover. Commercial festival sweets are often loaded with artificial additives, heavy preservatives, and excess refined sugar. By preparing this simple khoya peda recipe at home, you get 100% pure, hygienic, and melt-in-your-mouth mithai with absolute peace of mind.
Why You’ll Love This Quick Mawa Peda Recipe
The best part about this quick mawa peda recipe is its incredible simplicity. You don’t need to stress over complex sugar syrup consistencies (chashni) or spend hours slaving over a hot stove. With just three basic pantry staples – fresh milk solids, traditional unrefined sugar powder (bura or tagar), and fragrant green cardamom – you can craft a rich dessert that tastes straight out of a traditional sweet shop.
Mastering the Art of Zero-Waste Sweets at Home
Whether you are hosting a festive gathering, craving a quick post-dinner treat, or simply love smart zero-waste cooking, this step-by-step guide has you covered. Discover the crucial temperature tips to ensure your dough never gets sticky, and learn how to shape perfect, velvety pedas every single time!
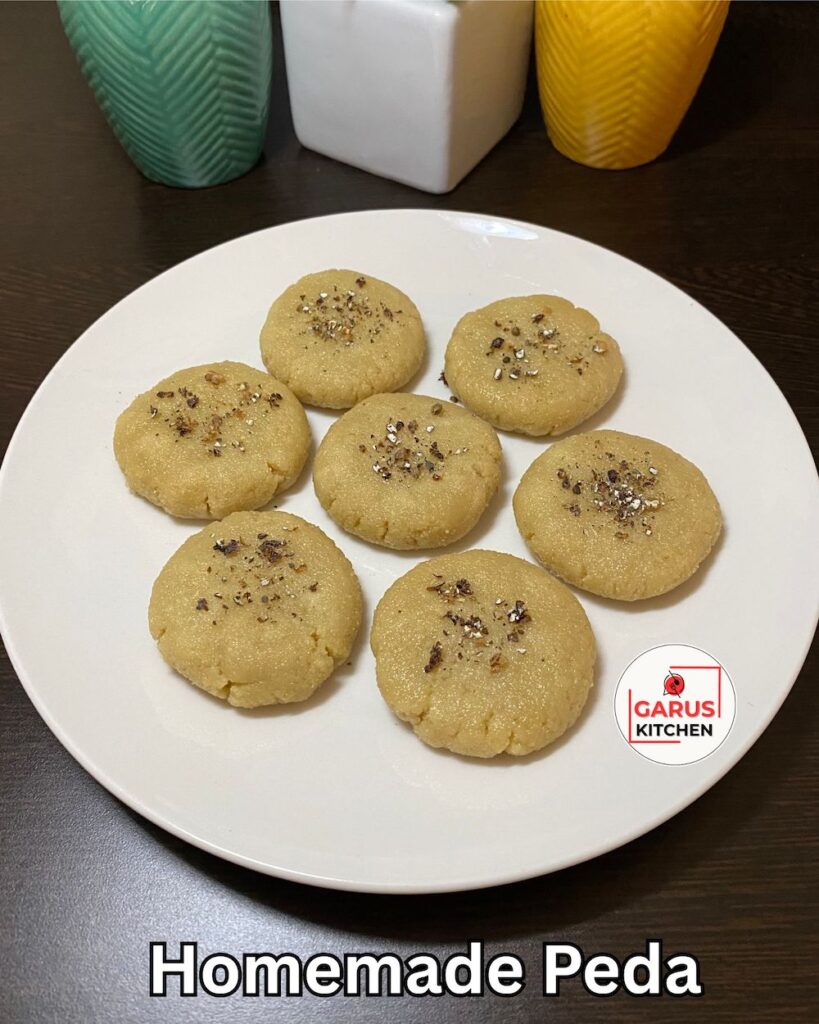
More Delicious Indian Dessert Recipes to Try!
Khoya Meeng Barfi
Mango Custard
Nankhatai
Dry Fruit Kheer
Mango Rabdi
Recipe Card
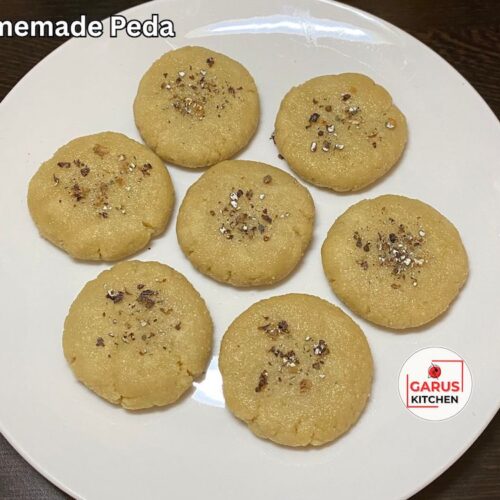
Quick Homemade Khoya Peda Recipe Using Leftover Malai Mawa
Ingredients
- 1 Cup Fresh Khoya / Mawa
- ⅓ Cup Bura / Tagar Unrefined Cane Sugar
- ½ tsp Cardamom Powder freshly ground
- ½ tsp Desi Ghee
Instructions
- Warm the Khoya: Heat 1 cup fresh khoya in a heavy pan on low heat for 3–4 minutes until soft and smooth. Turn off the heat immediately.
- Cool Down: Transfer the khoya to a wide plate and let it cool down until lukewarm.
- Mix Ingredients: Add ½ tsp cardamom powder and ⅓ cup bura (tagar) to the lukewarm khoya. Mix well to form a soft dough.
- Shape & Garnish: Grease palms with ghee, roll the dough into small balls, and press the center with your thumb. Garnish with a pinch of cardamom powder and serve.
🛒 Shop This Recipe: Ingredients & Kitchen Tools
Below are the key ingredients and essential kitchen tools you’ll need to make this healthy, high protein, and flavorful lettuce bean salad at home:
- Bura / Tagar (Unrefined Cane Sugar)
- Cardamom Powder
- Heavy-Bottomed Kadai
- Stainless Steel Spatula
- Measuring Cups & Spoons
- Dessert Plates for Serving
Step-by-Step Recipe
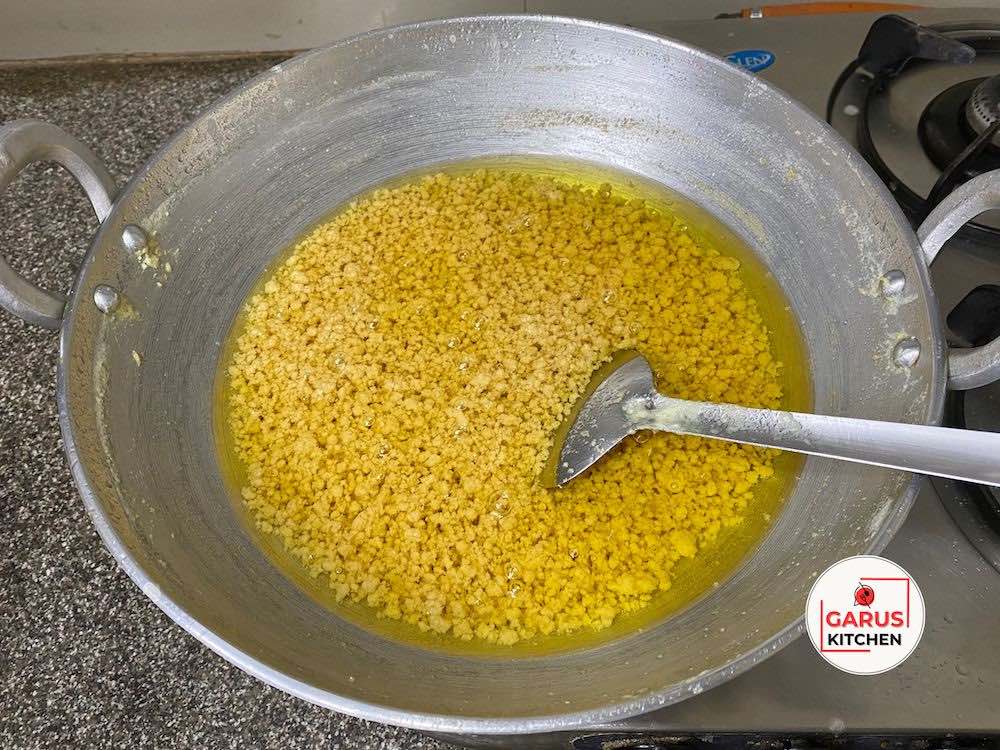
Step 1: Warm and Soften the Khoya
1. Place a heavy-bottomed pan on a low flame and add 1 cup of soft, fresh khoya recipe extracted from your malai.
2. Stir continuously for 3 to 4 minutes until the mawa softens, turns smooth, and releases a gentle milky aroma. Do not over-cook or brown the mixture. Turn off the heat immediately.
Step 2: Transfer and Cool to Lukewarm
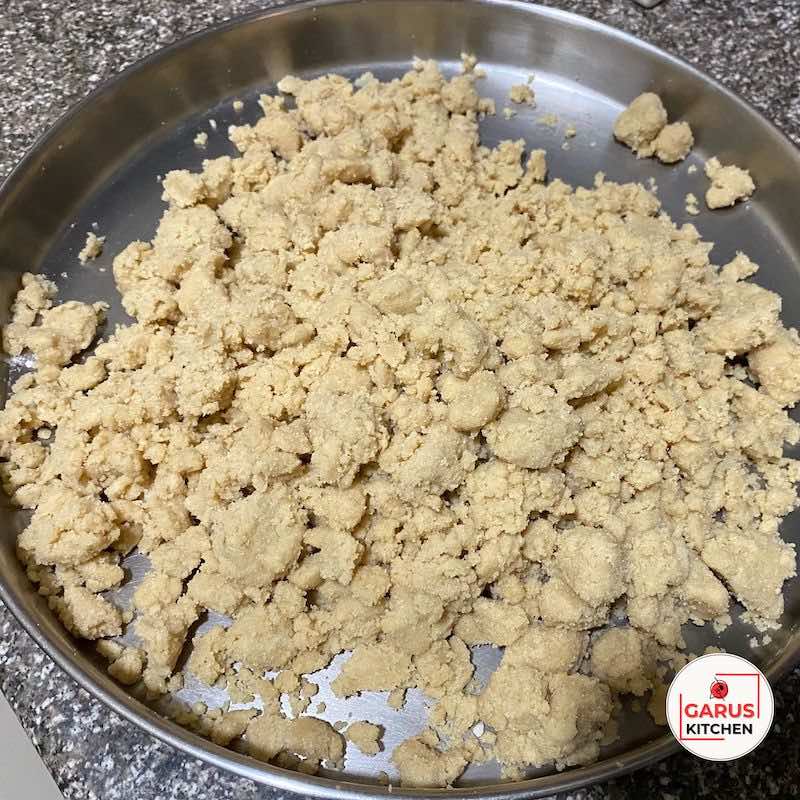
3. Transfer the warm khoya mixture out of the hot pan into a wide plate or mixing bowl.
4. Spread it gently with a spoon and let it cool down until it becomes lukewarm – neither piping hot nor completely cold to the touch.
Step 3: Add Flavour and Bura (Tagar)
5. Add ½ teaspoon of freshly ground cardamom powder and ⅓ cup of bura (tagar) to the lukewarm khoya.
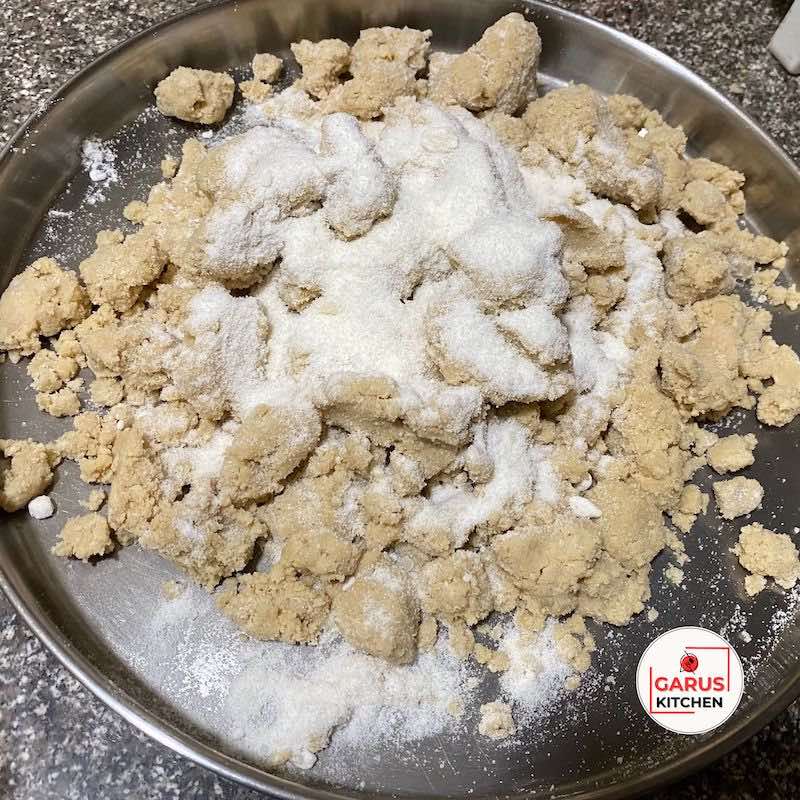
6. Mix thoroughly using your fingers or a spatula until the sugar combines completely with the mawa to form a smooth, soft dough.
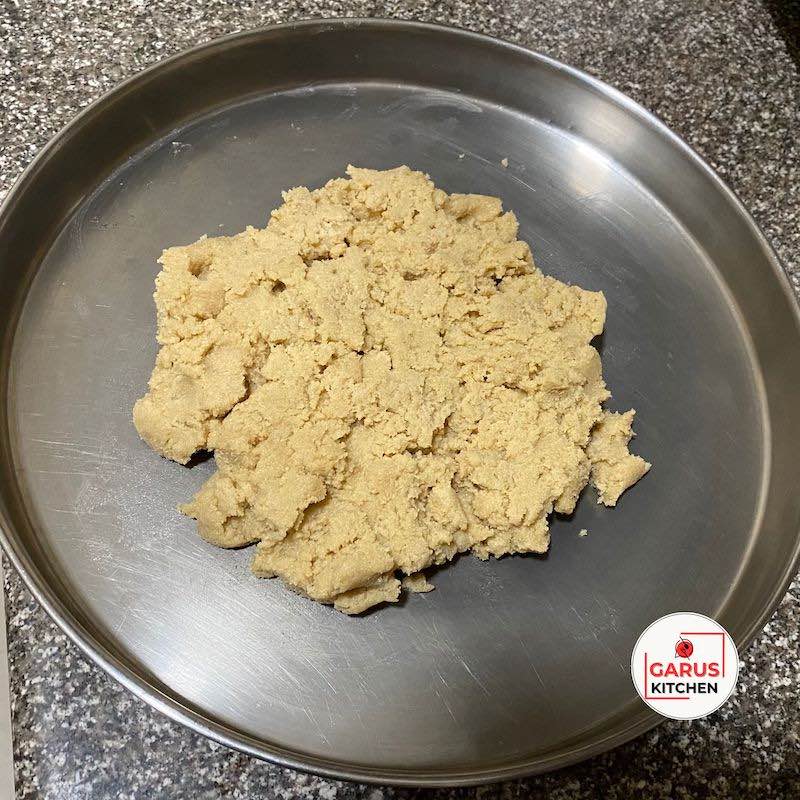
Step 4: Shape and Garnish the Pedas
7. Grease your palms with ½ teaspoon of desi ghee. Take small, equal portions of the khoya dough, roll them into smooth round balls, and gently press the center with your thumb to create the classic peda shape.
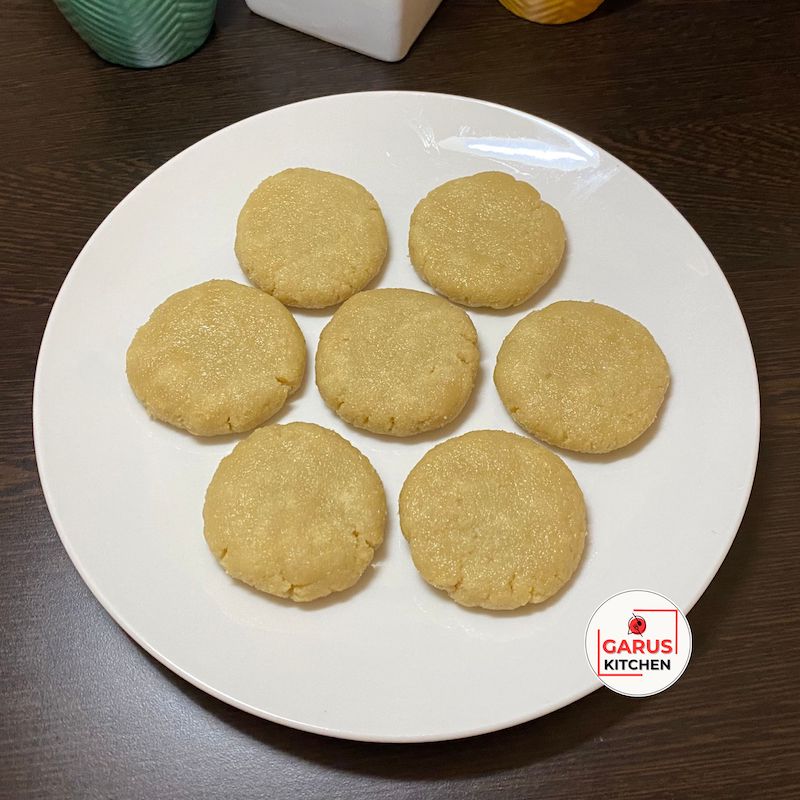
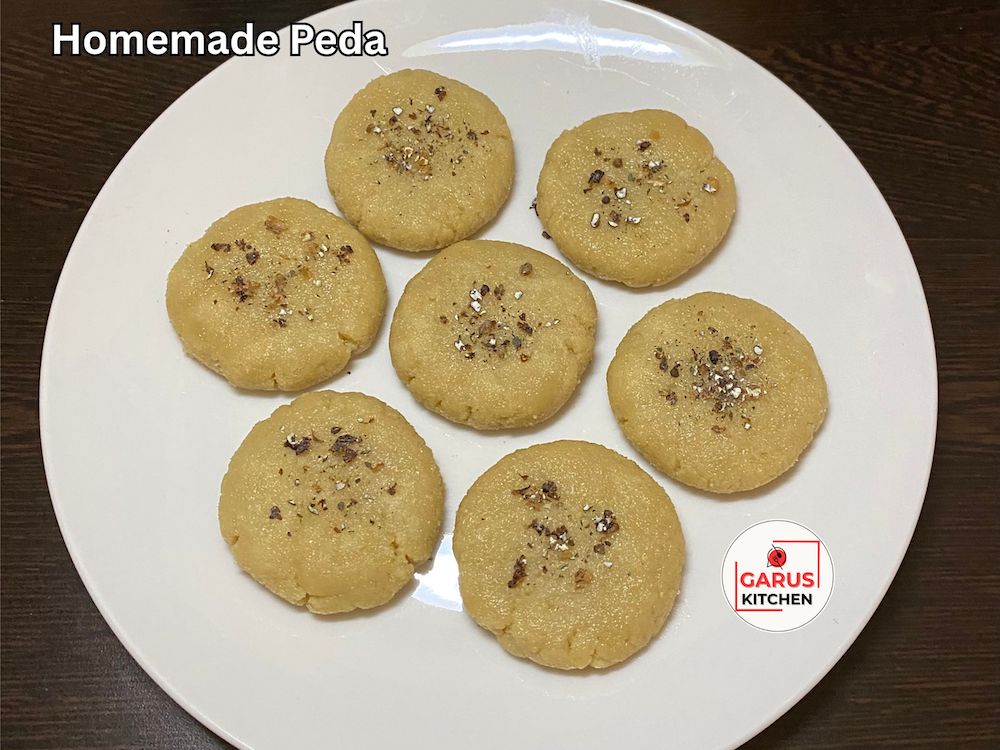
8. Sprinkle a pinch of fresh cardamom powder right in the center press for an attractive garnish. Serve fresh or store for later!
Pro Tips & Tricks for Perfect Soft Peda Recipe
1. Master the Temperature: Never add bura to piping-hot mawa on the stove. Heat melts the sugar instantly, making your mixture runny and liquidy instead of firm.
2. Why Use Bura/Tagar: Traditional bura gives authentic pedas their signature melt-in-mouth texture without making the dough sticky, which regular powdered sugar can often do.
3. Fixing Dry Dough: If your khoya dough feels slightly crumbly while shaping, knead in a few drops of warm milk or ½ teaspoon of ghee to bind it effortlessly.
4. Storage Life: Keep your fresh homemade khoya pedas in an airtight container in the refrigerator for up to 5-7 days.
You Might Also Like My Other Recipe Categories
Kheer Recipes
Khoya Recipes
Bread Snacks Recipes
Tiffin Recipes
Frequently Asked Questions (FAQs)
Q1. Why did my khoya peda mixture become sticky and liquidy?
Ans: Adding sugar or bura to hot khoya causes it to melt instantly, turning your mawa into a loose, runny paste. Always let your warmed khoya cool down until it is lukewarm to the touch before combining it with sweetener.
Q2. Can I use regular powdered sugar instead of bura (tagar)?
Ans: While regular powdered sugar works in a pinch, it releases excess moisture and can make the pedas dense or sticky. Traditional bura (tagar) contains distinct sugar crystals that give pedas their classic, melt-in-the-mouth, halwai-style texture.
Q3. How long can I store homemade khoya pedas, and do they need refrigeration?
Ans: Since these pedas are made from fresh milk solids without artificial preservatives, store them in an airtight container in the refrigerator. They stay fresh, soft, and flavorful for up to 5 to 7 days.